
The following guide will walk SportLogic users through the process of transferring students out of any given class. Reasons for doing so may include enrolling a make-up class, accidental registration or an unexpected cancellation. As such, SportLogic’s features make it easy for the user to transfer students in and out of classes with only a few clicks.
For the purposes of this guide, let the class the student starts in be named “Class A”, and the class the student finishes in be named “Class B”.
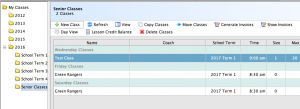
- Click “Classes” on the sidebar and select Class A.

- Now click “Other” on the toolbar, and sele
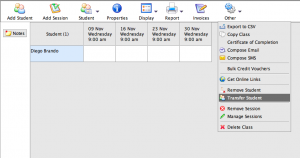 ct “Transfer Student”.

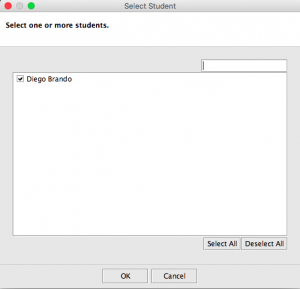
- A window will now appear titled “Select Student
 ”. Pick the student or students you wish to transfer out of Class A.
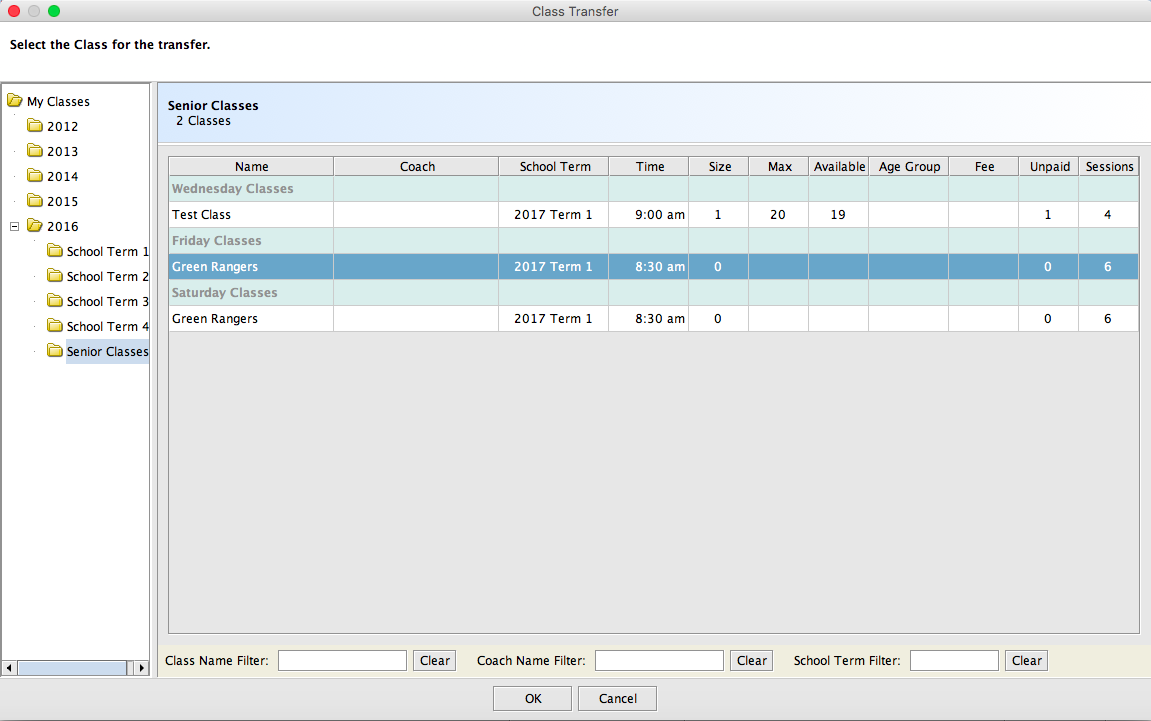
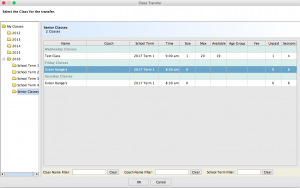
- A new window will appear titled “Class Transfer”.
 Now select Class B and click “OK”.

- Another window will appear titled “Confirm Student Transfer”.
NOTE: This window will ask you whether you wish to keep the student’s records in Class A or remove them entirely. If you want to keep this student’s records in Class A, such as for archival purposes or payment tracking, select the bottom option: “Keep student in the original class”.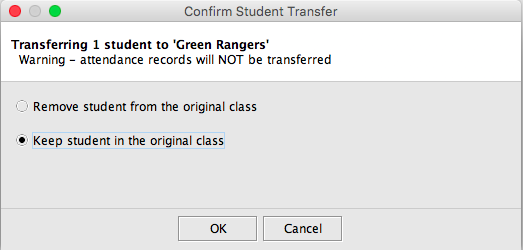
If you haven’t any need for the student’s records in Class A, 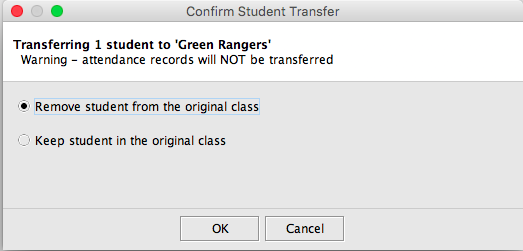 select the top option: “Remove student from the original class”.
- Make your selection and click “OK”.
- One more dialogue box will appear, stating the completion and success of the transfer.
Note that you cannot transfer a student to Class B if said student is already in Class B.