ADDING A NEW PRODUCT
1. On the sidebar to the left, click “Products”.
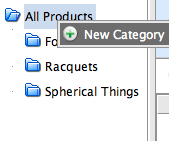
2. Right-click the folder labeled “All Products”. Click “New Category” and name your category. This will allow you to sort all your products into useful types, such as food or equipment.
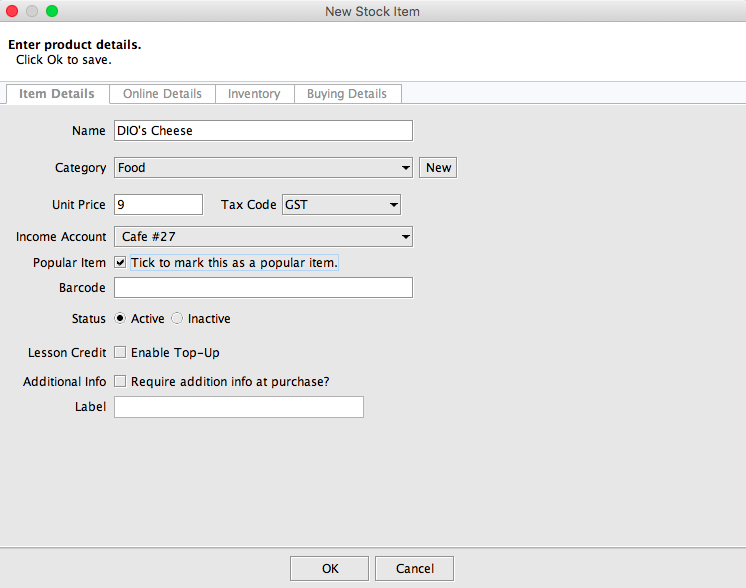
ITEM DETAILS
- “Name” is the name of your product.
- “Category” is the category of product it belongs to.
- “Unit Price” is how much the individual product will cost.
- “Income Account” lists the product under set categories; usually reserved for accounting purposes.
- “Popular Item”; when ticked, it will list the product with a star and mark it as “popular”.
- “Barcode” is the product’s barcode. You can either enter its code manually or scan the product to enter it automatically.
- “Status” lists the product as either “Active” or “Inactive”. Inactive products will not appear in your POS.
- “Lesson Credit” should be reserved for special products that can be topped-up, such as concessions or for promotions.
- “Additional Info” and “Label” are for extra information and will prompt you for it if selected.
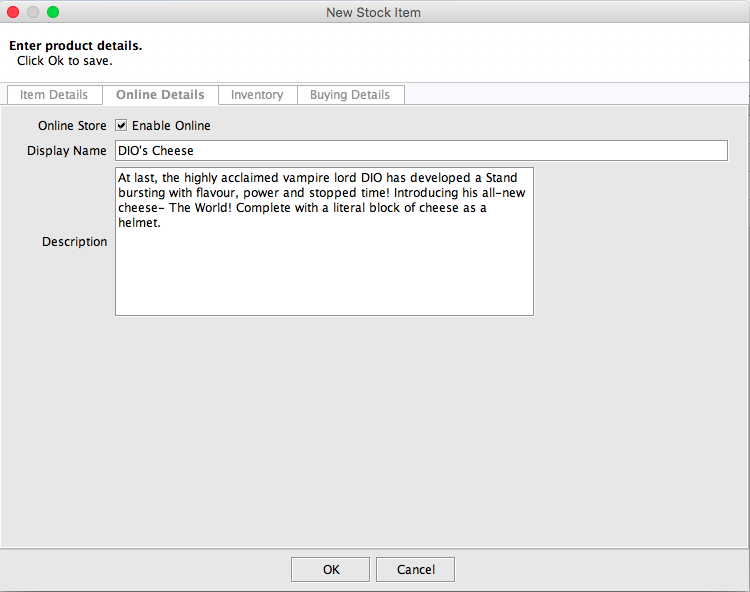
ONLINE DETAILS
- Tick the “Enable Online” box if you wish to display this product in your online store.
- Enter the product’s “Display Name” and “Description” to have them listed online with the product.
- Tick the checkbox if you wish to keep track of how many units of that product are in stock. You’ll have to enter an amount at another time.
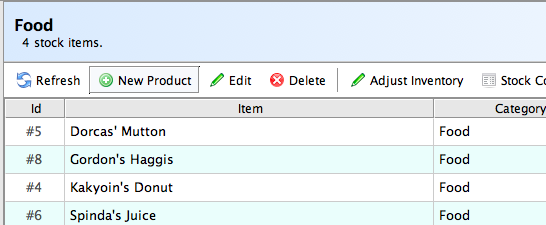
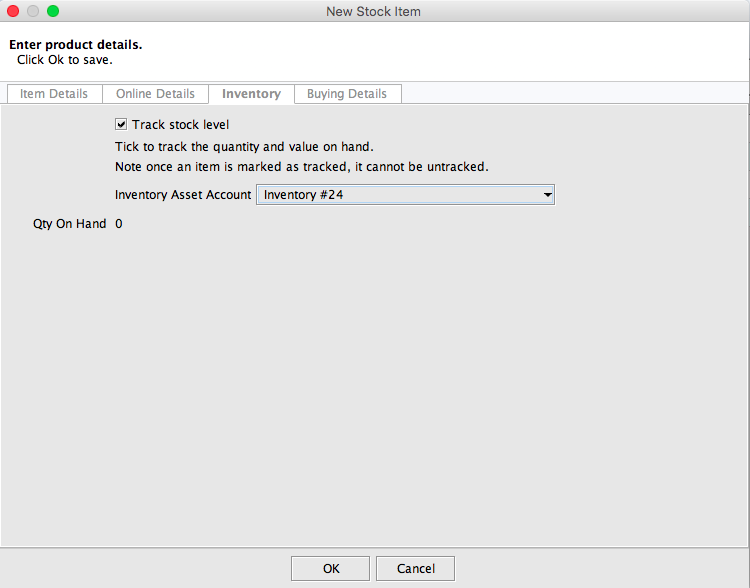 4. If you want to edit a product’s properties after you’ve added it, an “Edit” button located next to the “New Product” button allows you to do just that.
1. Products that have their inventory taken are denoted with a white square symbol. Select them and click “Adjust Inventory” to change how many units are in stock.
2. In the toolbar at the top of the screen, click “Inventory”.
EXPORTING STOCK LISTS TO EXCEL
- Click “Export Stock List to CSV”.
- An Excel spreadsheet will be automatically generated, detailing each product, its price, status and quantity (if inventory is being taken).
COUNTING A PRODUCT’S STOCK
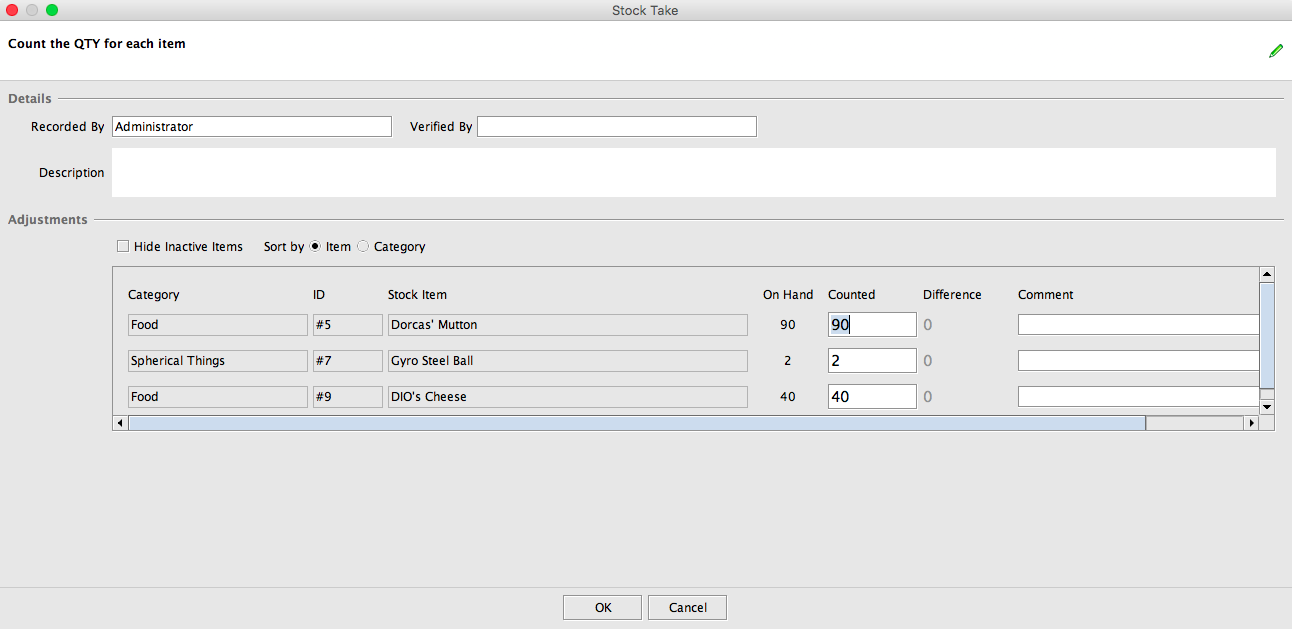
- Click “Stock Count”.
- The program will return a complete list of every product under inventory, as well as the quantity for each item.
- You have the option to hide inactive products by ticking the checkbox.
SETTING UP CASH REGISTERS
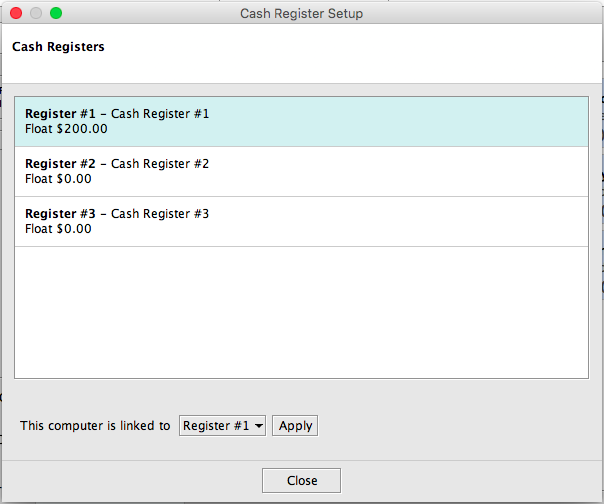
1. Each computer with a SportLogic program is linked to a single cash register. To assign them, click “File” in the very top-left, then “Config”, then “Cash Register Setup”.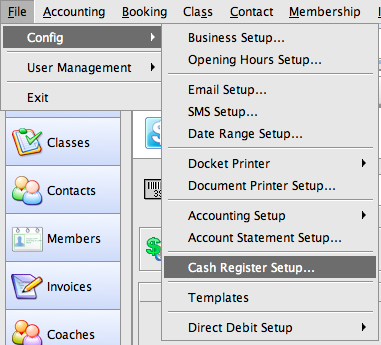
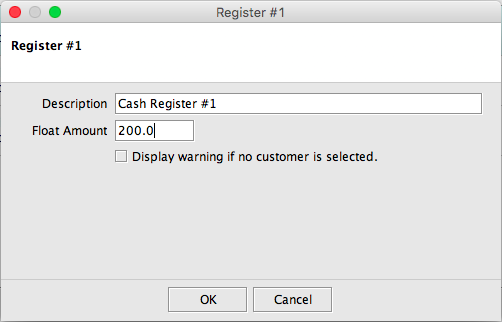
2. A list of registers will be brought up. Double-click one to change its name and its float amount. NOTE: A cash float is the money in a cash register needed at the beginning of a trading period in order to give change to customers. This is normally made up of smaller-value notes or coins.
3. Enter the required details for the register and click “OK”.
4. Repeat as necessary.
MAKING A SALE
1. Click “New Sale” on the upper toolbar.
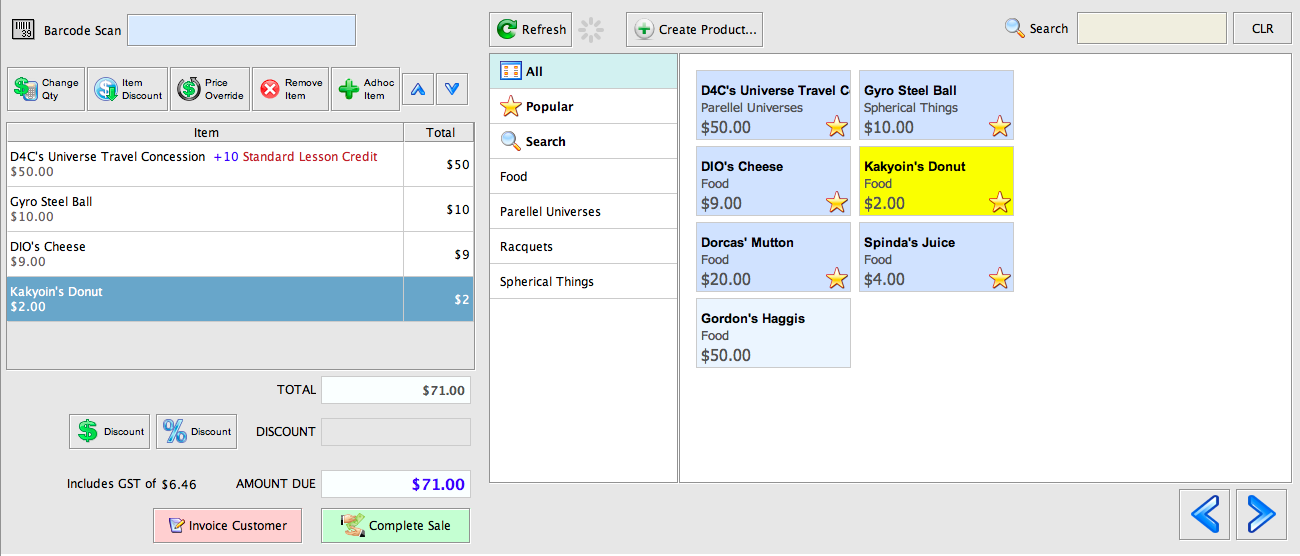
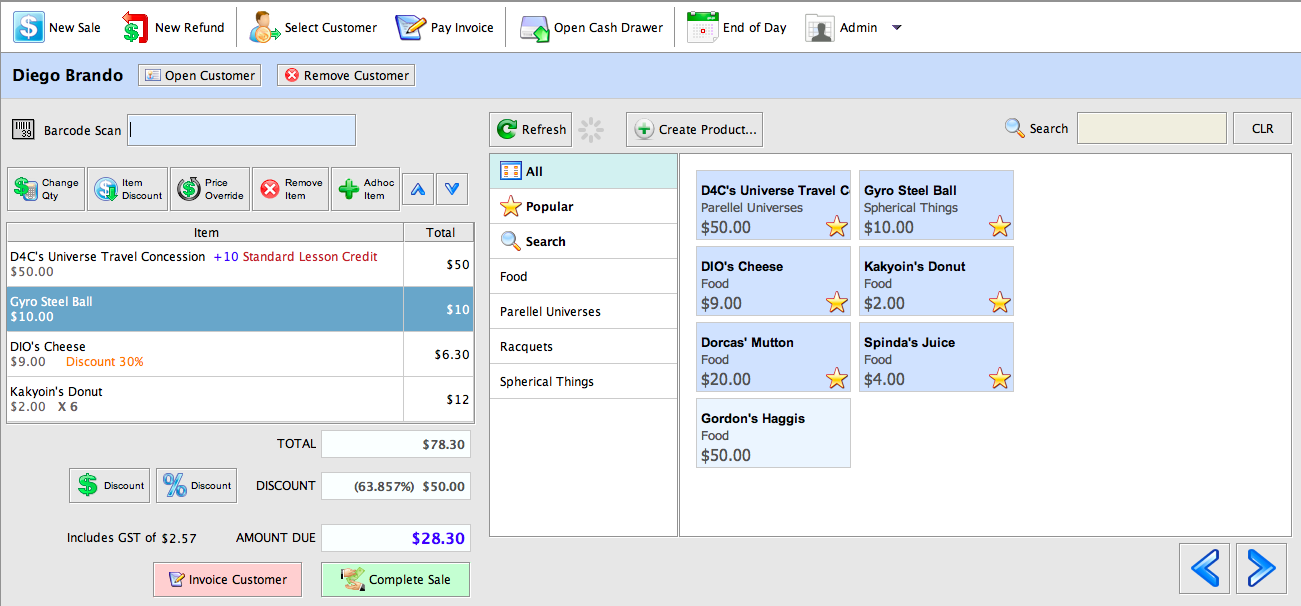
2. To the right of the screen are all your products, listed in alphabetical order.
SORTING YOUR PRODUCTS IN THE POS
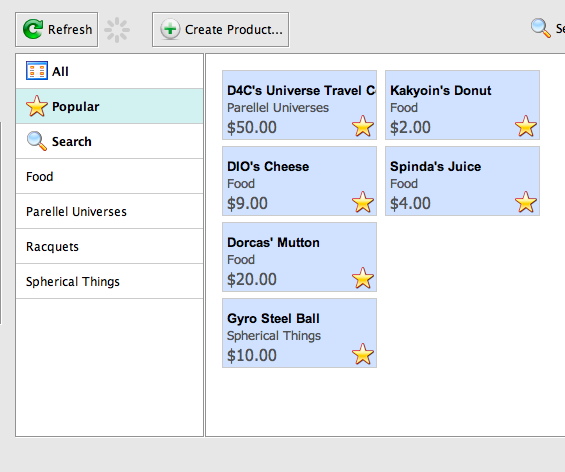
- Clicking “Popular” in the sidebar will display only products that have been ticked as a “popular item”.
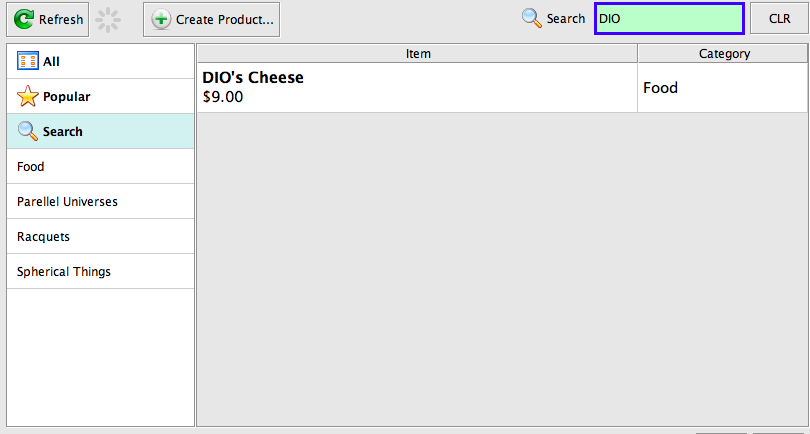
- Clicking “Search” will allow you to manually search for items by typing in keywords.
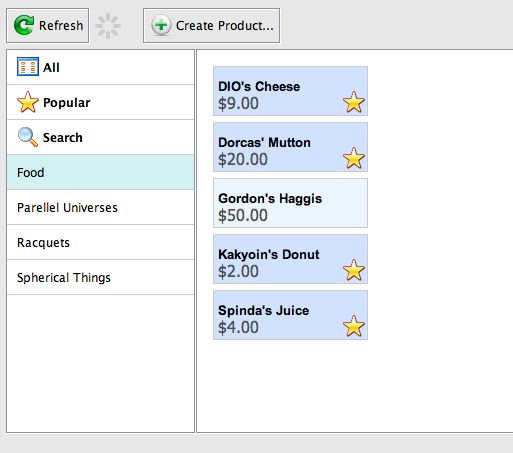
- Finally, each of your product categories are listed in the sidebar for easy browsing.
3. Select any product to add it into the transaction list.
CHANGING A LISTED PRODUCT’S PROPERTIES
- To change a listed product’s quantity, click “Change Qty”.
- To reduce a listed product’s price by a certain percentage, click “Item Discount”.
- To change a listed item’s price (this will affect its value in your product database), click “Price Override”.
- To remove a product from the list, click “Remove Item”.
- To add a temporary, spontaneous item for this transaction only, click “Adhoc Item”. This product won’t be available for selection in future transactions.
ASSIGNING A CUSTOMER TO A TRANSACTION
- Click “Select Customer” in the upper toolbar.
- Now select an existing client in your database to assign to the current sale. Note that you may add a new client in this window without exiting the POS.
- Once you have selected a customer, their name will appear in a light blue banner across the top of the screen. Now the transaction you make here will be assigned to this customer.
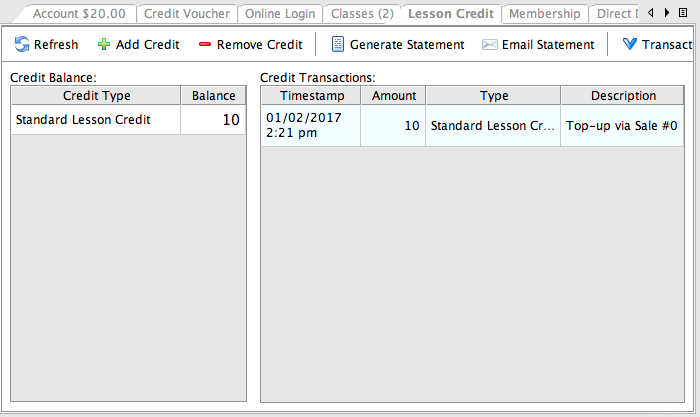
- This is especially useful if this customer purchases lesson credit, as the purchased credit will be listed in their contact under “Lesson Credit” automatically.
4. Now, all your listed product’s total quantities, discounts, and amount due from your customer will be calculated and displayed on the screen.
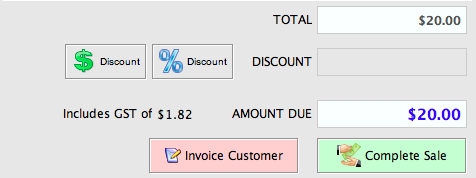
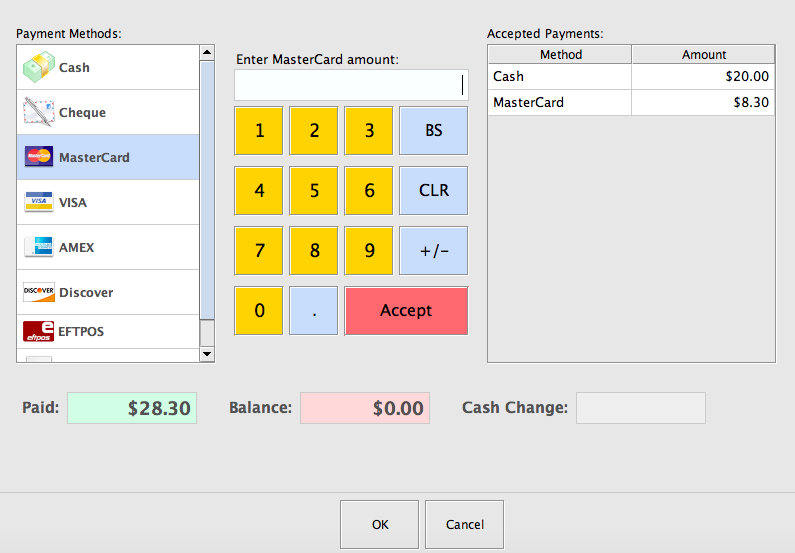
5. Click the green button below to complete the sale and receive payment. NOTE: The till of the register will automatically open with each successful sale.
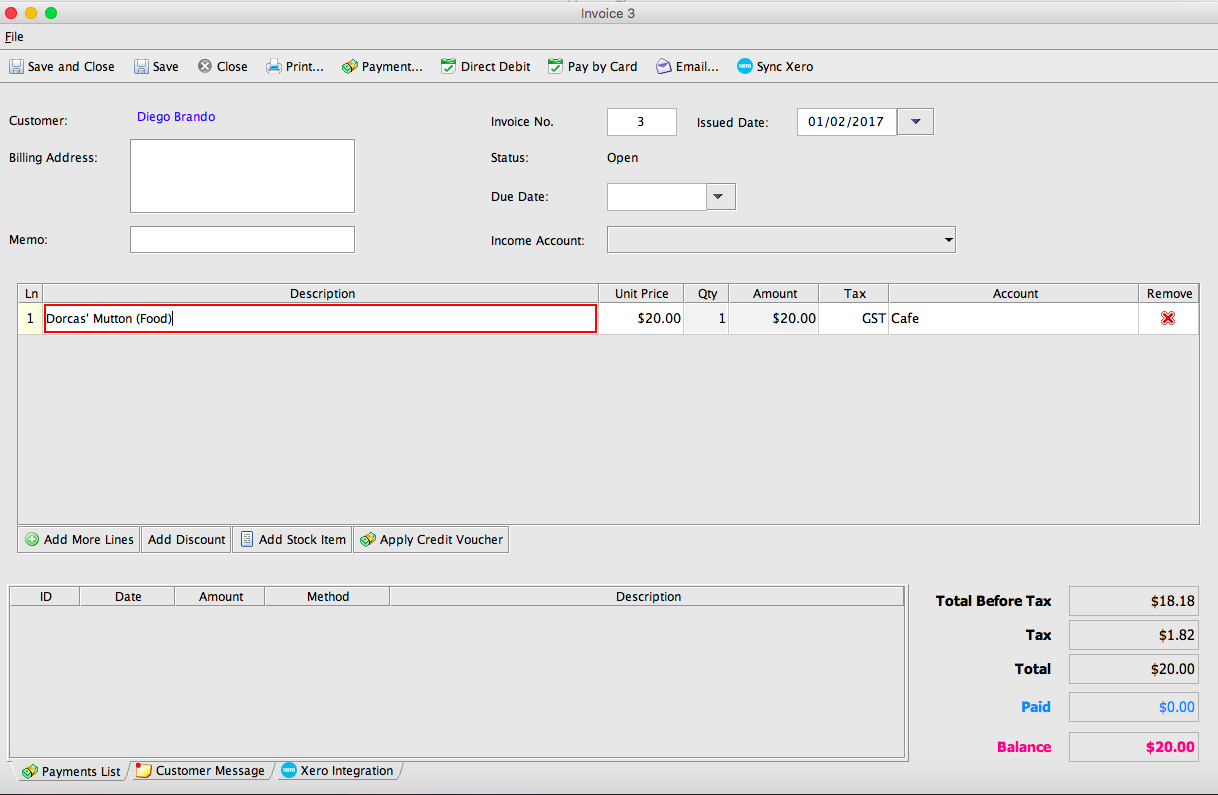
6. If you assigned a customer to this transaction, you may click the red button to invoice the customer instead.
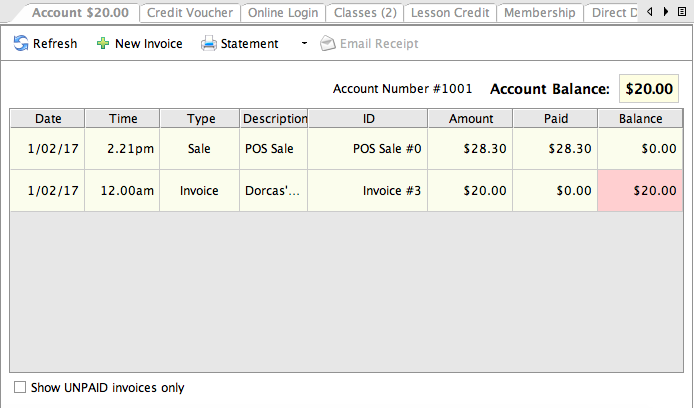
(If the customer has no outstanding invoices, a new invoice will be created for them. If they already have one, it will be updated with their new purchases. Their invoices may be viewed in their Contact, under Account. )
MAKING A REFUND
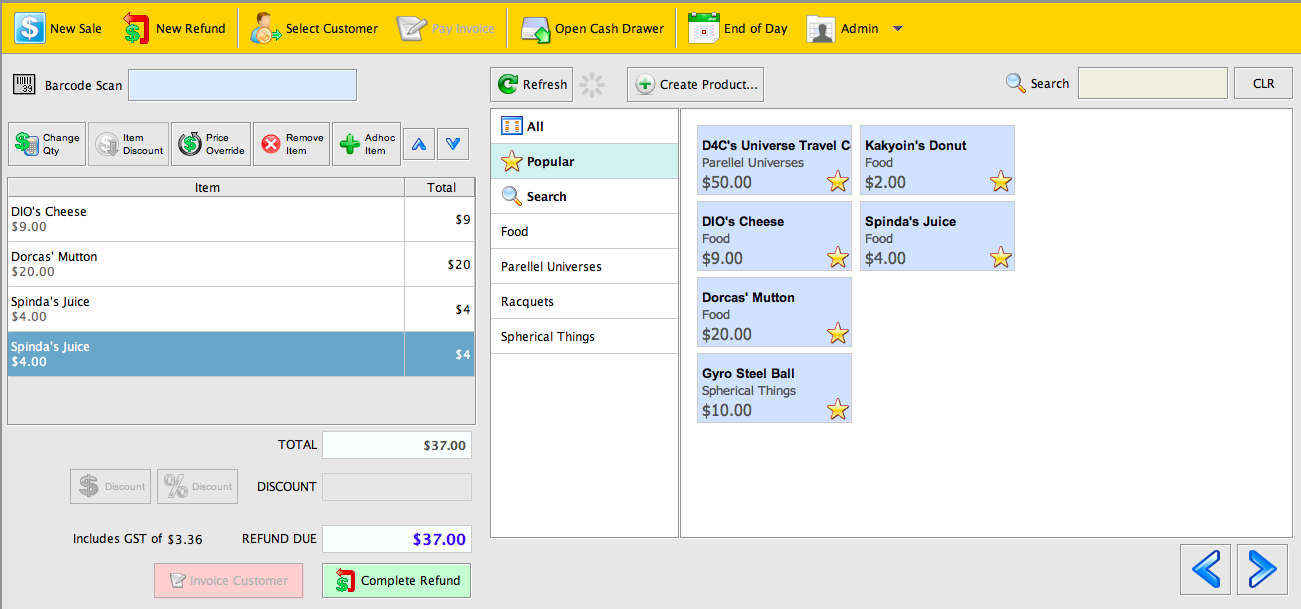
1. Click “New Refund” on the upper toolbar, and click “Yes”.
2. Now POS will enter “refund mode”, represented with a yellow banner across the upper toolbar.
3. To make a refund, simply select, add and change products as you would while making a sale. The till of the register will automatically open with each successful refund.
END OF DAY
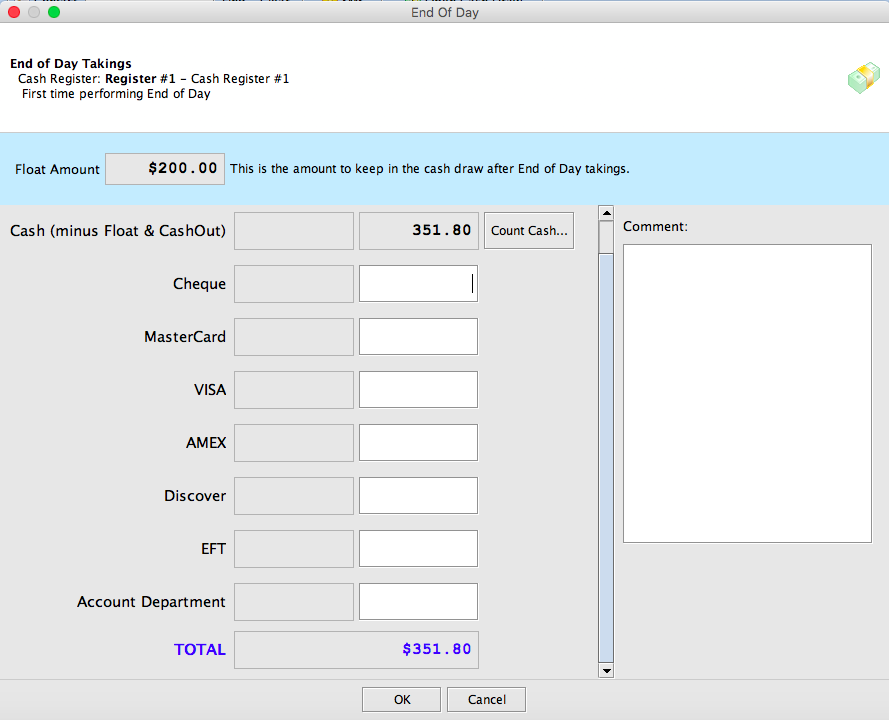
1. After a day of trading, click the button labeled “End of Day” in the upper toolbar to record the day’s sales.
2. A window will appear detailing the register’s float and text boxes for your earnings. Remember to set aside your float amount before you enter your earnings.
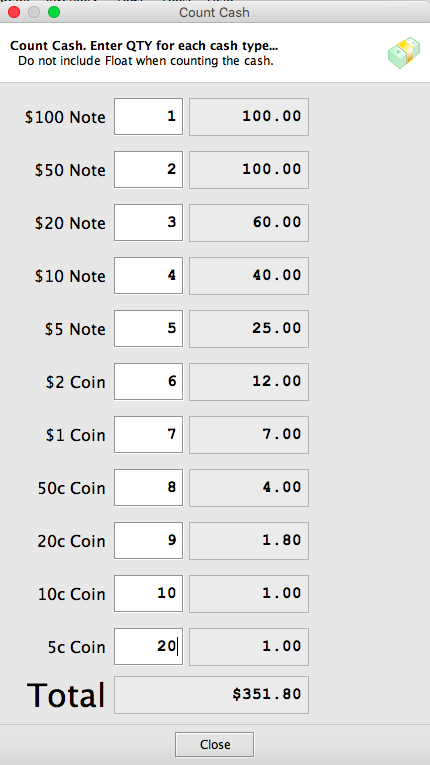
3. To enter your Cash earnings, simply enter the number of each type of note and coin into the individual text boxes.
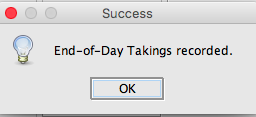
4. If successful, a dialog box will appear, saying “End-of-Day Takings Recorded”.

