
There are 3 different ways to create a contact’s login for the customer portal.
- Signup page.
- Invitation link.
- Admin
1. SIGNUP PAGE:
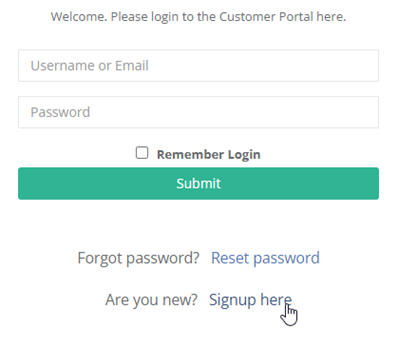
This is ideal for new customers (not in your existing database). They simply click on the signup here link and create an account. You can place this link on your website.
2. INVITATION LINK:
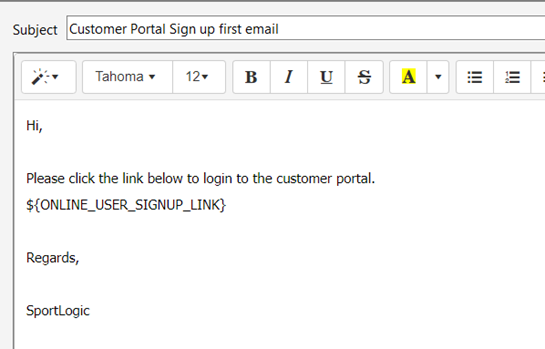
In this method, we email the below-merged field to your existing contacts. Existing contacts should not sign up through the signup button as it could result in duplicate contacts.
${ONLINE_USER_SIGNUP_LINK}
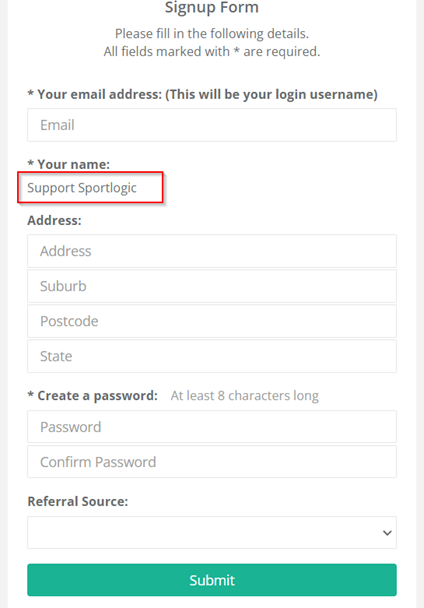
The customer receives the email which looks like the one below. They then click on the link and create their login details.
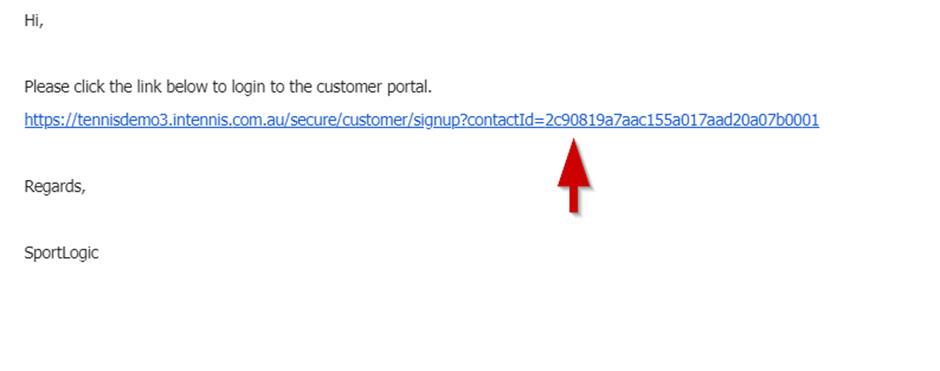
As you can see below, it is linked to the existing contact. Whenever a linked contact creates a login, they will be able to access all their existing information e.g., personal details, Invoices, class details etc. after logging in to the portal.
3. ADMIN. Creating a login id and password from the contact section.
The administrator can also create login ids for the customers. However, using this method, you can only create one login at a time. You can use this method to help customers with their login-related issues like resetting their password, creating a new username etc.
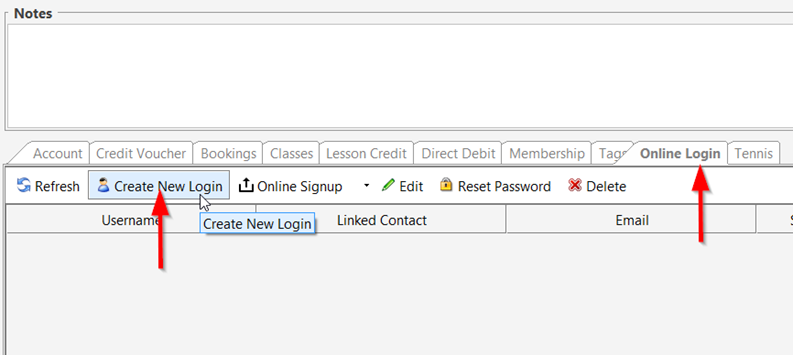
Open contact details and click on the Online Login tab and then on Create New Login.
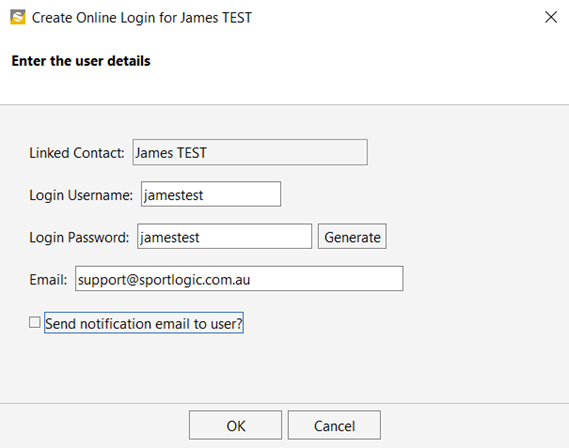
Enter the details as shown below and click OK.
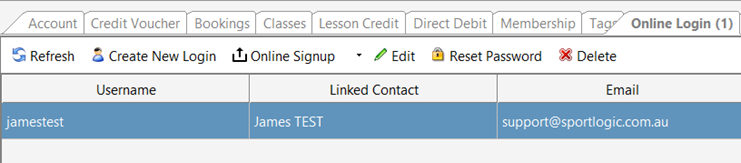
Login ids for a contact can be viewed from this section. Also, a contact can have multiple login ids.
The Admin can also email the signup link:
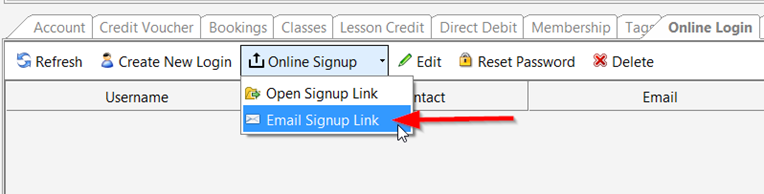
This works similarly to the Invitation link. In this case, it is just sent to this contact and not to a group.