
Follow the steps mentioned below to complete ClassMaestro installation on a Windows system
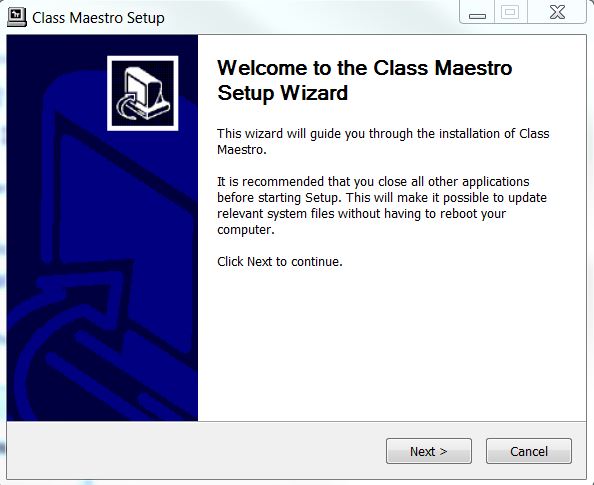
2 . After the download completes, double click on the file install.exe to start the installation procedure.
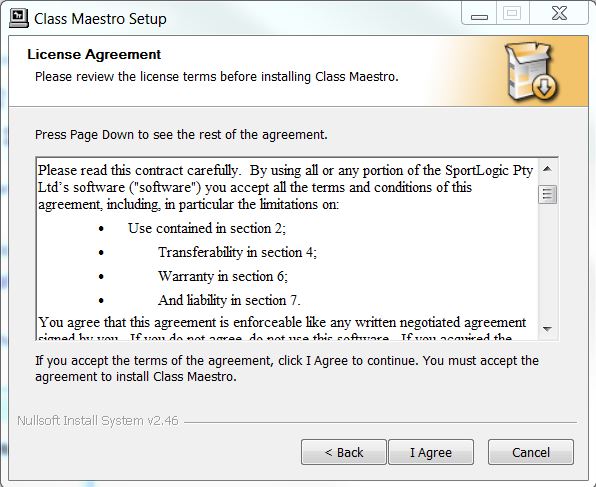
3 . Kindly go through the License Agreement and click on ‘I agree’.
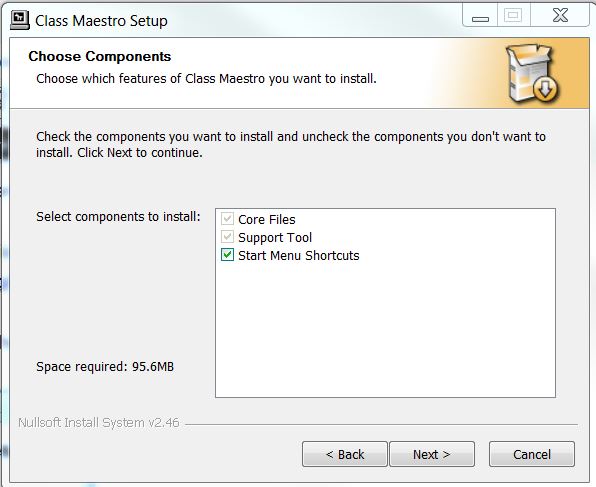
4 . Choose the components to install and click ‘Next’. It is already selected by default so you don’t have to make any changes. Just click ‘Next’.
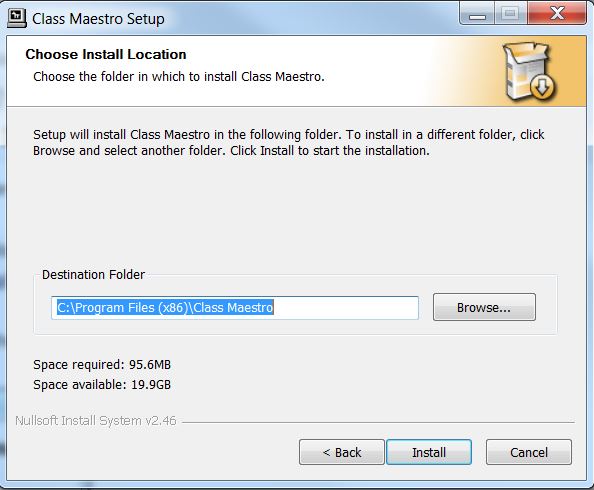
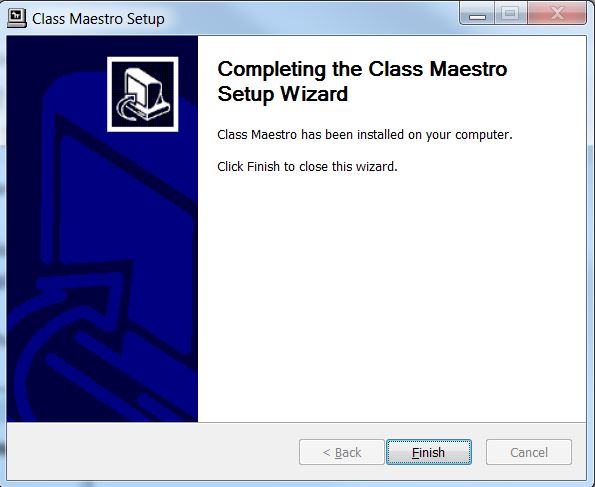
5 . Click on ‘Install’ and wait for a few seconds for the installation to complete and then finally click on ‘Finish’ to complete the installation.
6 . To start using the software, click on the ClassMaestro logo on you desktop. It will bring up a window. Here you would need to type your CLIENT LOGIN id which you received in your email and then click on OK.

7 . You can now start using your ClassMaestro software .