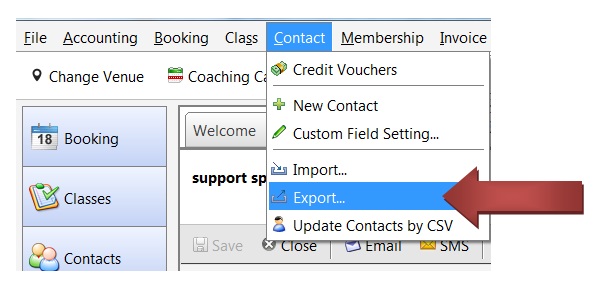
To update existing contacts, first, we export the existing list by clicking Contact and then on Export
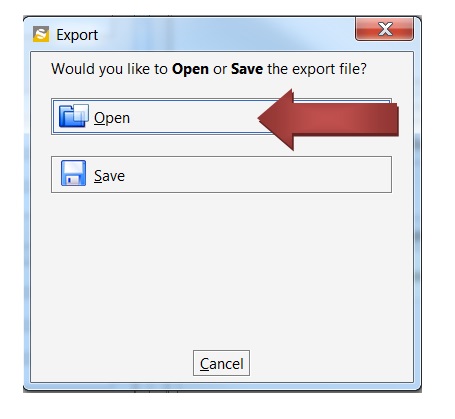
You can either save or open. In this example, we will open the file.
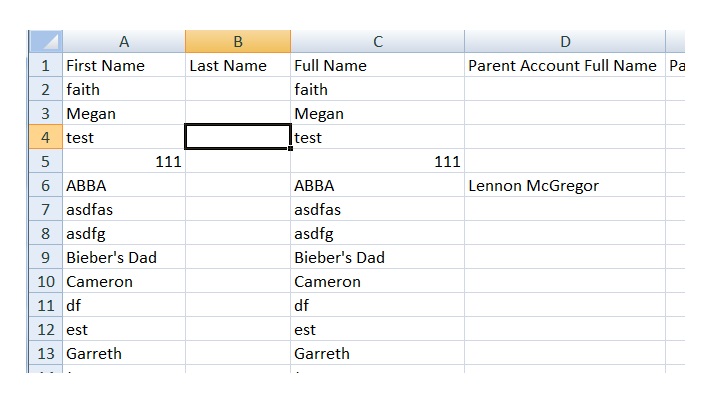
Make changes or add details to the file. Just make sure not to make any changes to the First Name and Last Name.
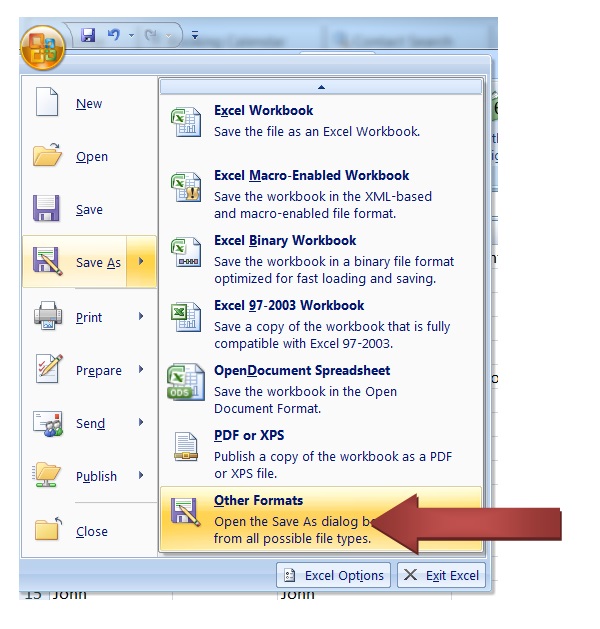
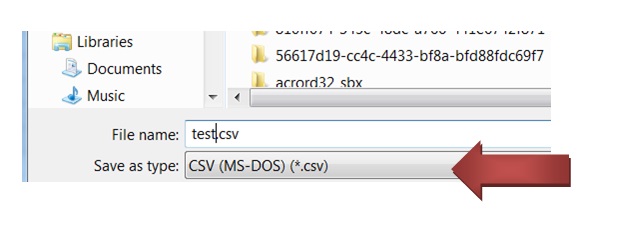
Now, save the file as a CSV file by following the steps illustrated below.
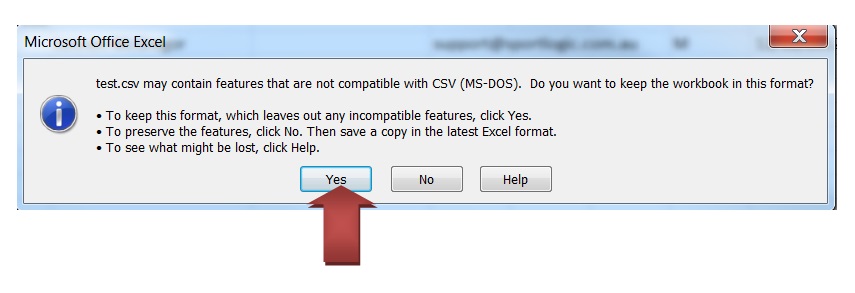
While saving, you may get an error, similar to the one shown below asking you to continue. Click Yes to continue anyway.
IMPORTING THE CSV BACK TO THE SOFTWARE
Now that we have made the modifications, we need to import the CSV file back to the software. During this process, all information for the contacts matching the First and Last names will be overwritten by the CSV file.
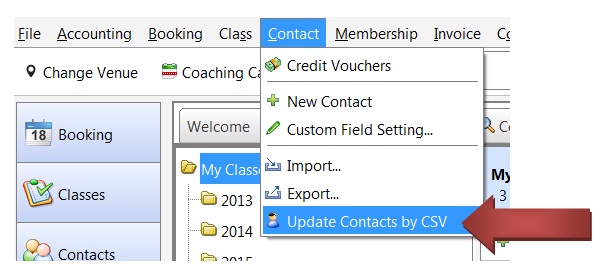
Click Contact and then on the Update Contacts by CSV option
Browse to the CSV file and click OK. In this example the file name is test.csv.

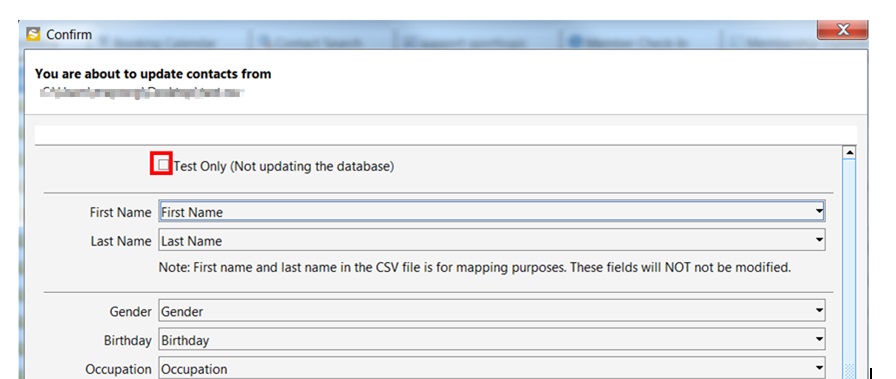
You will get a confirmation window. Here, you need to map the columns. However, in this example, we are using a file which already contains all the column names (since it is an export from the software itself)
– There is also a TEST ONLY option. If this is checked, the contacts will not be added but you will get a report containing errors if any. It is advisable that you do a test before you actually import the data.
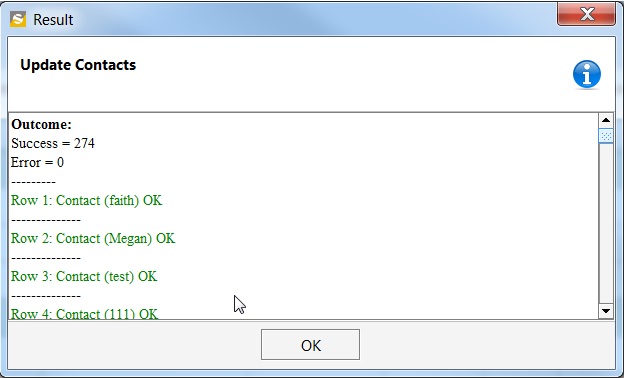
If the update is successful, you will get a report as shown below with zero errors.